
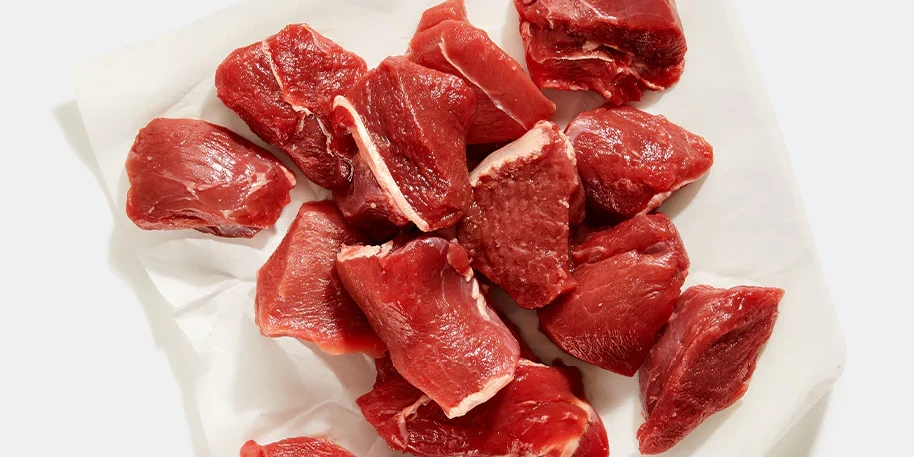
How to Cook Venison Stew Chunks
Success Guide
Cook Time & Temps
Pan-Sear
Slow Cooked
PREP
Serving size: 1 pack serves 2–3.
Choosing your fat: Cook with a good amount of fat to add moisture. Choose oil or fat with a high smoking point necessary for a good sear—ghee butter or rendered fats like lard or tallow, or avocado oil.
Preferred Seasonings: Salt and pepper are a good start, but spices control the direction of the flavor profile for your finished dish. Adding aromatics, savory vegetables and fresh herbs help create layers of flavor. You can use the classic mirepoix of celery, onion, and carrots or get creative by using other ingredients. Adding an acidic component like wine, vinegar, beer, lemon juice, etc., will also help tenderize the meat.
PREFERRED METHOD
- Start by pre-heating a dutch-oven or heavy-bottom pot with a tight fitting lid over medium-high heat for 3-5 minutes.
- Pat dry thawed stew chunks with a paper towel to remove excess moisture and season with salt.
- Once the pot is hot, add 2–3 tbsp amount of oil/fat.
- Add the stew chunks in the pot and sear undisturbed for about 6–7 minutes or until they're nice and caramelized. (*See extra browning tips below)
- Once they're thoroughly browned, remove the stew chunks from the pot and set aside.
- Adjust heat to medium and add your savory vegetables, spices, aromatics and sauté until fragrant or softened. Hereʻs a delicious combo (https://mauinuivenison.com/blogs/recipes/recipe-red-curry-coconut-venison-stew) of ingredients to try.
- Deglaze by adding a little liquid such as bone broth, wine, beer, etc., which will help release all those browned flavorful bits on the bottom of the pan.
- Liquid should cover the meat and vegetables by about half an inch. For soups add more liquid.
- Bring it back to a gentle boil, then turn the heat to low and cover with a lid.
- Let it cook, checking every so often until the meat is tender (about 1 hour–1.5 hours)
- Keep the lid on throughout cooking to trap the moisture inside and help keep the meat juicy.
- If your stew looks a little too watery, remove the lid during the last 20–30 minutes of cooking. That lets the liquid evaporate but will also concentrate the stew's flavor.
*EXTRA BROWNING TIPS
Browning the meat is the first and most important step to a flavorful stew. Don't skip the browning step. It may seem like an extra bit of work, but it's well worth it! Some key things to keep in mind for a proper browning:
- Pat the stew meat dry—this helps keep it from steaming instead of searing.
- Make sure the pan is hot—add the meat when the oil starts to shimmer and smoke just slightly.
- Avoid overcrowding the pan and leave a few inches of space between the pieces of meat—if necessary, cook meat in smaller batches. This also ensures even cooking and prevents crowded meat from steaming instead of searing.
- Once you put the meat in a pan, let it be. The meat needs a few minutes of uninterrupted contact to sear properly—it will actually stick to the bottom of the pan at first and then release naturally when seared.
Venison 101