
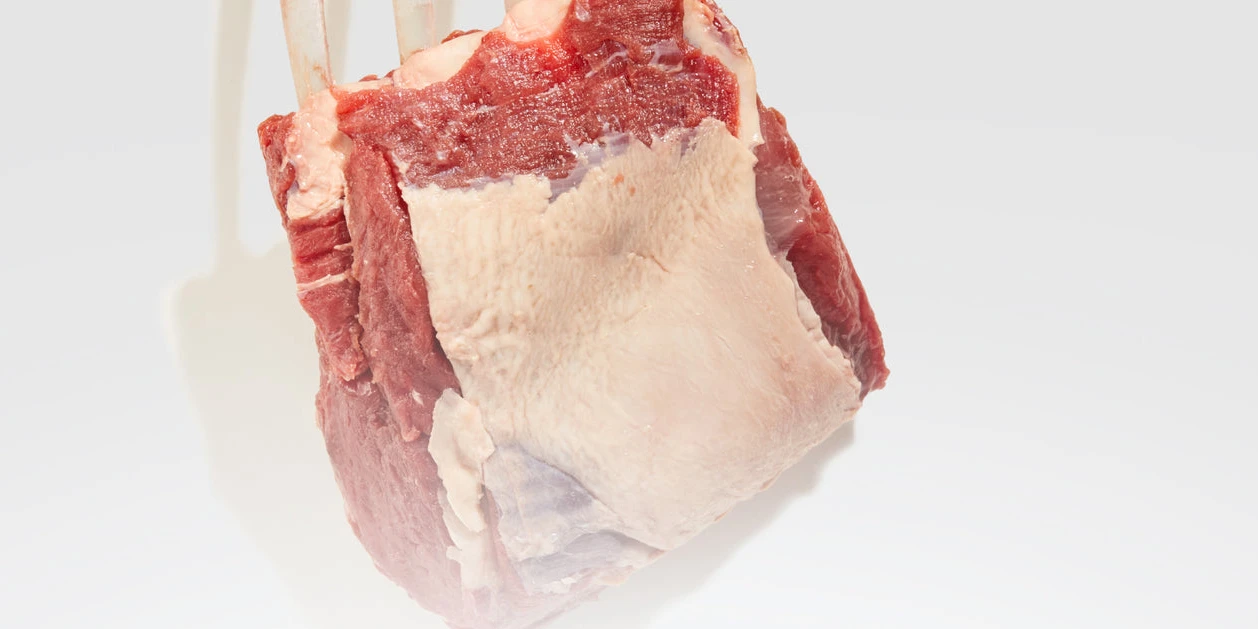
How to Cook Venison Rib Racks
Success Guide
Cook Time & Temps
Grill
First, on direct heat for 2–3 minutes a side to sear
Then, 8–12 additional minutes on indirect heat
Preffered Method
When it comes to cooking venison rib racks, grilling is not only the easiest but also the best method to unlock their delicious flavors. While there is no one-size-fits-all method for grilling, setting up a two-zone fire allows you to create an intensely flavorful, golden-brown crust on one side, while using the indirect heat on the other side for gentle cooking until just the right tenderness is achieved.
- To start, give that rib rack a good rubdown with some oil and lightly oil the grill grates. Then, place it bone side up onto the hot side of the grill.
- When grilling, temperatures can fluctuate. To ensure even cooking of the rib racks, flip them around every 2-3 minutes to prevent burning. This will also create delicious char marks from contact with different hot spots on the grates. Be cautious of flare-ups, and keep a spray bottle of water nearby to spritz any flare-ups you don't want.
- Once your rib rack has turned golden brown, move it over to the cooler side of the grill to finish cooking. Cooking time will vary between 10 to 15 minutes, depending on the size of your rib rack. For accurate temperature readings, use an instant-read thermometer or meat probe. Remember that your meat will continue to cook even after it is removed from the grill.
- Transfer it to a cutting board, tent with foil, and let it rest for about 5 minutes before slicing it up.
- When it's time to serve, simply cut the rack into individual chops and enjoy.
Extra Tips
Adding a delicious sauce can be the perfect complement to your venison rib racks. Some options to consider include chimichurri, balsamic glaze, and BBQ sauce, or find more inspiration in our collection of recipes available here (https://mauinuivenison.com/blogs/recipes/tagged/venisoncut_rib-chop+venisoncut_rib-racks).
Gauging Doneness
The most reliable way to check the doneness of meat is by using an instant-read meat thermometer. Insert the thermometer into the thickest part of the meat and aim to remove it from heat at an internal temperature of around 125°-130°F for medium-rare to medium doneness (The Right Temperature (https://mauinuivenison.com/pages/gauging-meat-doneness)). If you are slicing into chops before cooking, take a look at the Rib Chop Cut Guide.