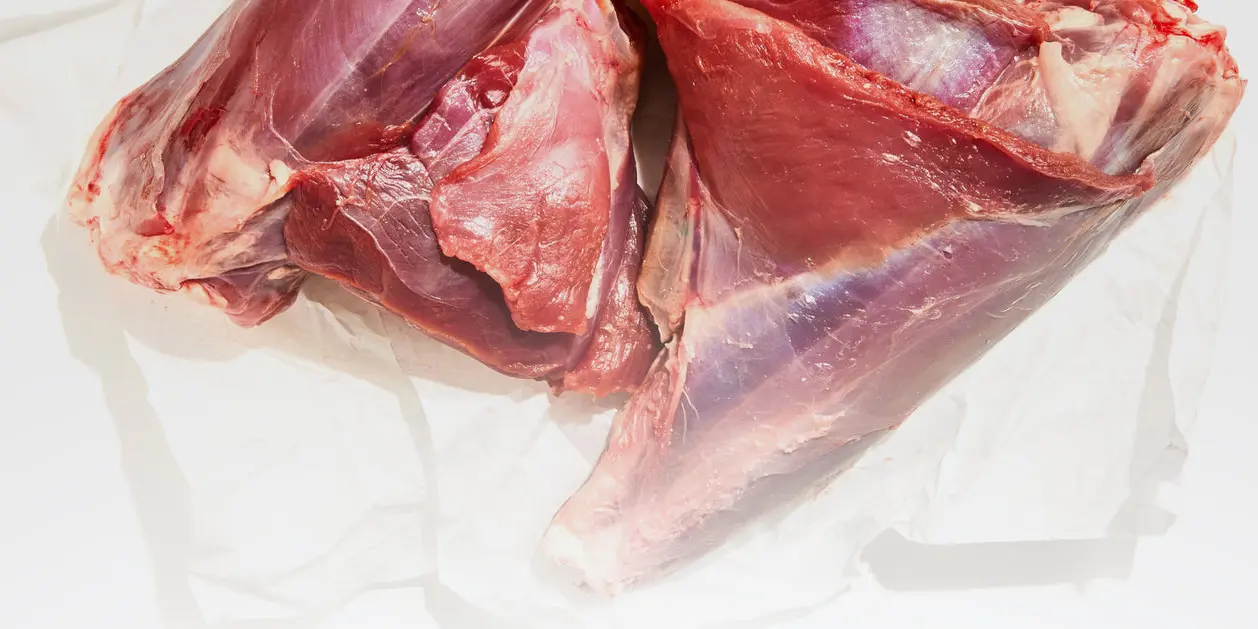
The Shanks
Success Guide
Cook Time & Temps
Browning
3–5 min. per side over medium-high heat
Braise
For 2 – 2 1/2 hrs. at 350°
Prep
Serving size: 1 pack serves 2–3.
Choosing your fat: Cook with a good amount of fat to add moisture. Choose oil or fat with a high smoking point necessary for a good sear—ghee butter or rendered fats like lard or tallow, or avocado oil.
Preferred Seasonings: Salt and pepper are a good start, but spices control the direction of the flavor profile for your finished dish. Adding aromatics, savory vegetables and fresh herbs help create layers of flavor. You can use the classic mirepoix of celery, onion, and carrots or get creative by using other ingredients. Adding an acidic component like wine, vinegar, beer, lemon juice, etc., will also help tenderize the meat.
Preferred Method
There are several steps that need to be taken in order to ensure that your venison shanks are properly cooked and flavored. The preferred cooking method is braising - a two-step process that involves browning the meat and then slow-cooking until meat is tender and flavors have melded.
- Start by cooking on the stovetop and then transferring it to the oven to finish cooking.
- Preheat your oven to 350°.
- Pre-heat your dutch-oven or heavy-bottom pot with a tight fitting lid over medium-high heat for 3–5 minutes.
- Once the pot is hot, add 2–3 Tbsp of oil/fat.
- Pat the shanks dry- this helps keep it from steaming instead of searing.
- As soon as the oil is ripping hot, place the shanks in the pot and sear undisturbed for about 3–5 minutes per side- things might get smoky. Not to worry, just adjust heat to medium temp.
- If your pot gets dry, add another Tbsp. of oil/fat.
- Once shanks are thoroughly golden-brown on all sides, remove from pot and set aside. (*Extra tips for perfect browning below)
- Lower heat to medium (or medium-low if the pot is too hot to avoid burning the following ingredients).
- Then add in your savory vegetables, spices, aromatics and sauté until softened or caramelized. Hereʻs a delicious example of great mirepoix (https://mauinuivenison.com/blogs/recipes/recipe-venison-shanks-provencal).
- Return the shanks to the pot, and add in just enough liquid such as bone broth, wine, or beer to cover the meat, scraping up all those delicious bits from the bottom of the pan.
- Optional: toss in your favorite fresh herbs for extra flavor.
- Adjust heat to medium-high and bring to a simmer.
- Then, cover the pot with a lid and transfer it to the oven to braise for about 2 hours. Every half hour, remove it from the oven and turn the shanks so they cook evenly.
- Keep the lid on throughout cooking to trap the moisture inside and help keep the meat juicy.
- After about 2 hours, the shanks should be quite tender. If they aren't quite there yet, return them to the oven and continue braising, checking every 15 minutes until fork-tender.
- To thicken the sauce, remove the lid during the last 20–30 minutes of cooking. That lets the liquid evaporate but will also concentrate the stew's flavor.
Gauging Doneness
Insert a fork into the thickest part of the shank. It should slide easily and the meat should be meltingly tender—will require at least 2–2 1/2 hours.