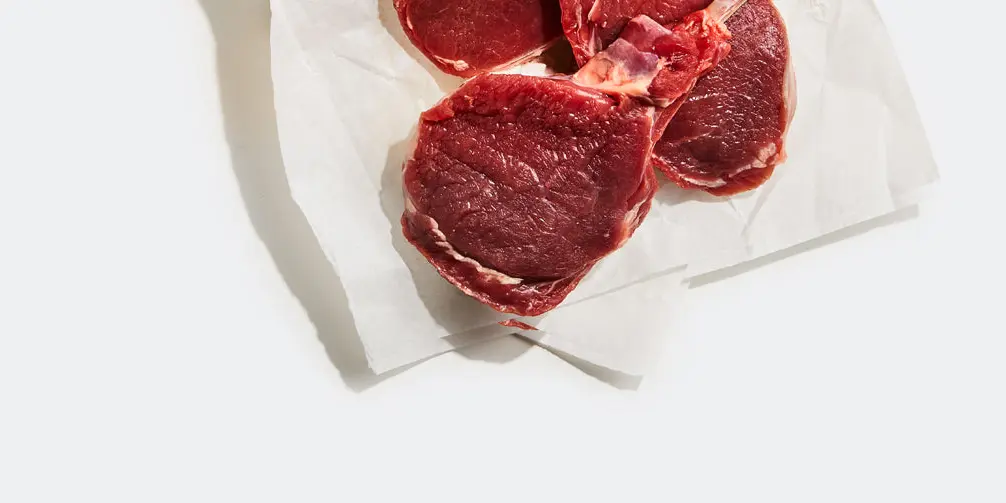
The Rib Chop
Success Guide
Cook Time & Temps
Pan-Sear
2-3 minutes per side on medium-high heat
Prep
Serving Size: 1 pack serves 2-3
Getting Started: To prepare this cut for cooking, begin by carefully removing any visible silver skin. (see more on Trimming Silver Skin (https://mauinuivenison.com/pages/fundamentals)) While optional, you can also enhance the presentation by cleaning up the meat around the bone handle.
Flavoring Techniques: Their small size and natural tenderness make them incredibly versatile to work with - you can marinate them for extra flavor, coat them with herbs and spices, or simply season them with salt and pepper right before cooking. Check out these Venison Rib Chop (https://mauinuivenison.com/blogs/recipes/tagged/venisoncut_rib-chop+venisoncut_rib-racks) recipes.
Preferred seasoning - A simple seasoning of salt and pepper is all you need to bring out the meat's natural flavor. Season with salt and pepper right before cooking. If using a seasoning blend, apply it on the meat in the last couple minutes of cooking.
Choosing a fat - Selecting the right fat is key to achieving the perfect sear for maximum flavor and tenderness. When pan-searing, opt for something with a high smoking point, such as ghee butter or rendered fats like lard, tallow, or even avocado oil. When grilling, use either avocado or olive oil.
Preferred Method
Preparing this deliciously lean cut of meat is as simple as a quick sear on your stovetop or grill. To achieve a rich crust without overcooking the delicate meat, heat up your trusty cast-iron pan until it's smoking hot. Keep a close watch on the chops as they cook, as only a few minutes are needed to reach flavor perfection. Depending on the thickness of the chop, cooking time will vary, but you can typically expect around 2-3 minutes per side.
- Make sure to pat each piece of meat completely dry before seasoning it with salt, pepper, or your preferred blend of spices.
- Start by preheating a large cast-iron skillet over medium-high heat for 3-5 minutes.
- Once the pan is hot, add enough oil or fat to lightly coat the bottom.
- As soon as the oil is ripping hot, place each rib chop in pan, and sear undisturbed until lightly browned, about 2-3 minutes. If needed, add more oil or fat to the pan.
- Then flip and cook the other side, about 2-3 minutes. (If the rib chops are thicker, add an extra 1-2 minutes.)
- This step is optional, but it creates an extra depth of flavor and juicy interior. In the last couple of minutes of cooking, lower the heat and add 1-2 tablespoons of butter. Toss the butter in with the chops and give them a good basting.
- Keep in mind they will continue to cook once you remove them from the pan.
- Remove meat from the pan, tent with foil, and let rest for about 5 minutes before serving.
Gauging Doneness
Venison rib chops cook quickly, so the Finger Test Method is the best way to determine if they're ready. Lightly press on the meat with your finger- you are looking for a slightly springy texture but not too firm. It will only take a few minutes for the chops to cook and reach this point. Alternatively, you can use an instant-read thermometer. Aim to remove the chops from heat when they reach an internal temperature of 130°- 135°F for medium-rare to medium doneness. The Right Temperature (https://mauinuivenison.com/pages/gauging-meat-doneness)
Extra Tips
A flavorful sauce can perfectly complement venison rib chops. Some delicious options to consider include chimichurri, herb garlic butter, and berry-infused red wine sauce, or you can also check out one of our recipes (https://mauinuivenison.com/blogs/recipes/tagged/venisoncut_rib-chop+venisoncut_rib-racks).
Some key things to keep in mind for a proper sear:
- Pat each filet dry- this helps keep it from steaming instead of searing.
- Make sure the pan is hot- add the meat when the oil starts to shimmer and smoke just slightly.
- Avoid overcrowding the pan and leave a few inches of space between the pieces of meat- if necessary, cook meat in smaller batches. This also ensures even cooking and prevents crowded meat from steaming instead of searing.
- Once you put the meat in a pan, let it be. The meat needs a few minutes of uninterrupted contact to sear properly — it will actually stick to the bottom of the pan at first and then release naturally when seared.